스유 초보이기 때문에 틀린 내용이 있을 수 있습니다!
💡 더보기 Text만들기
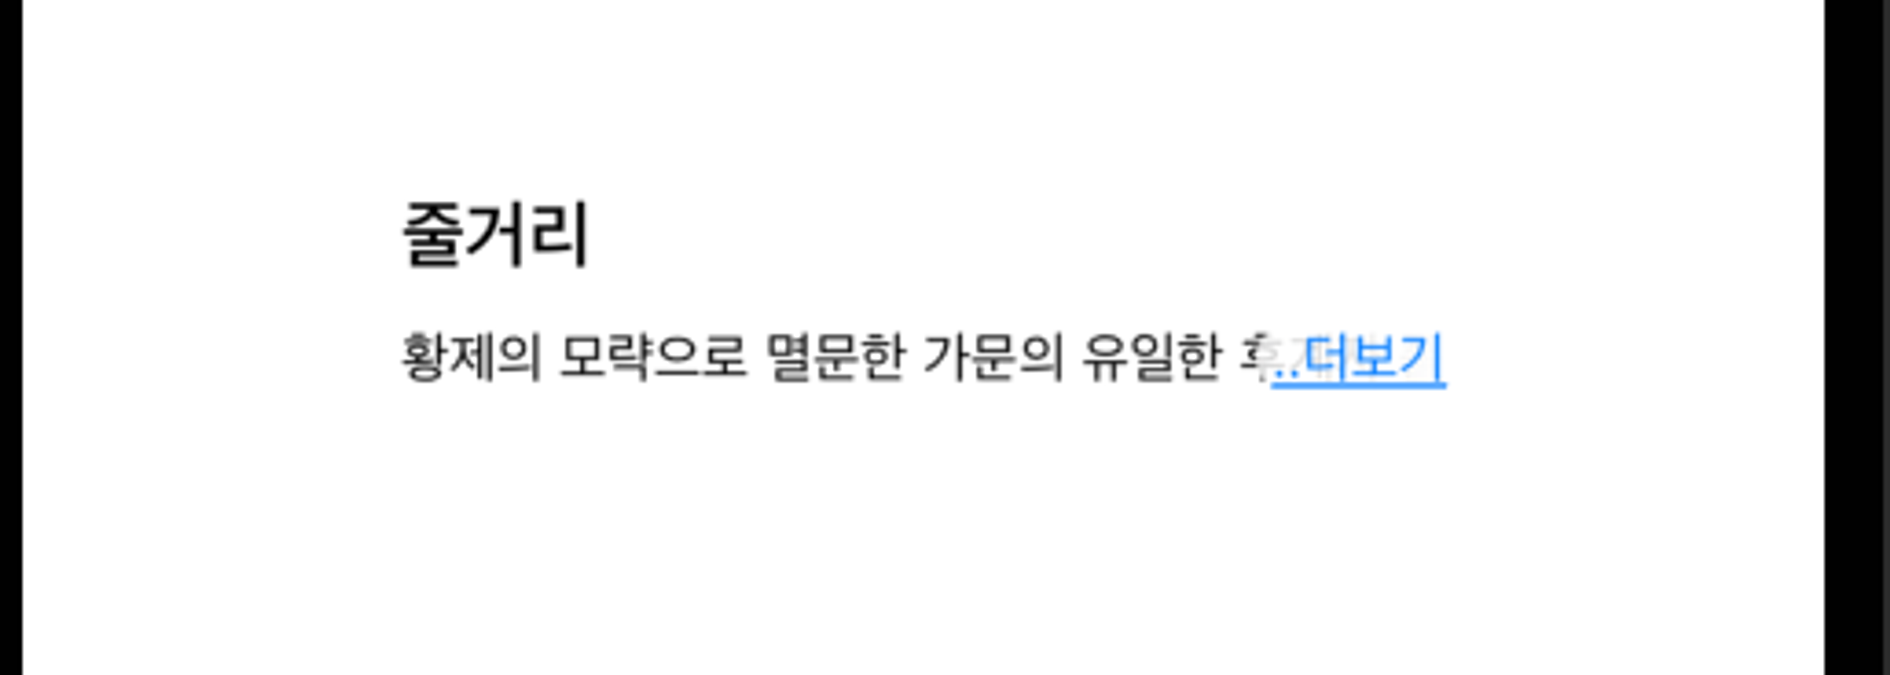
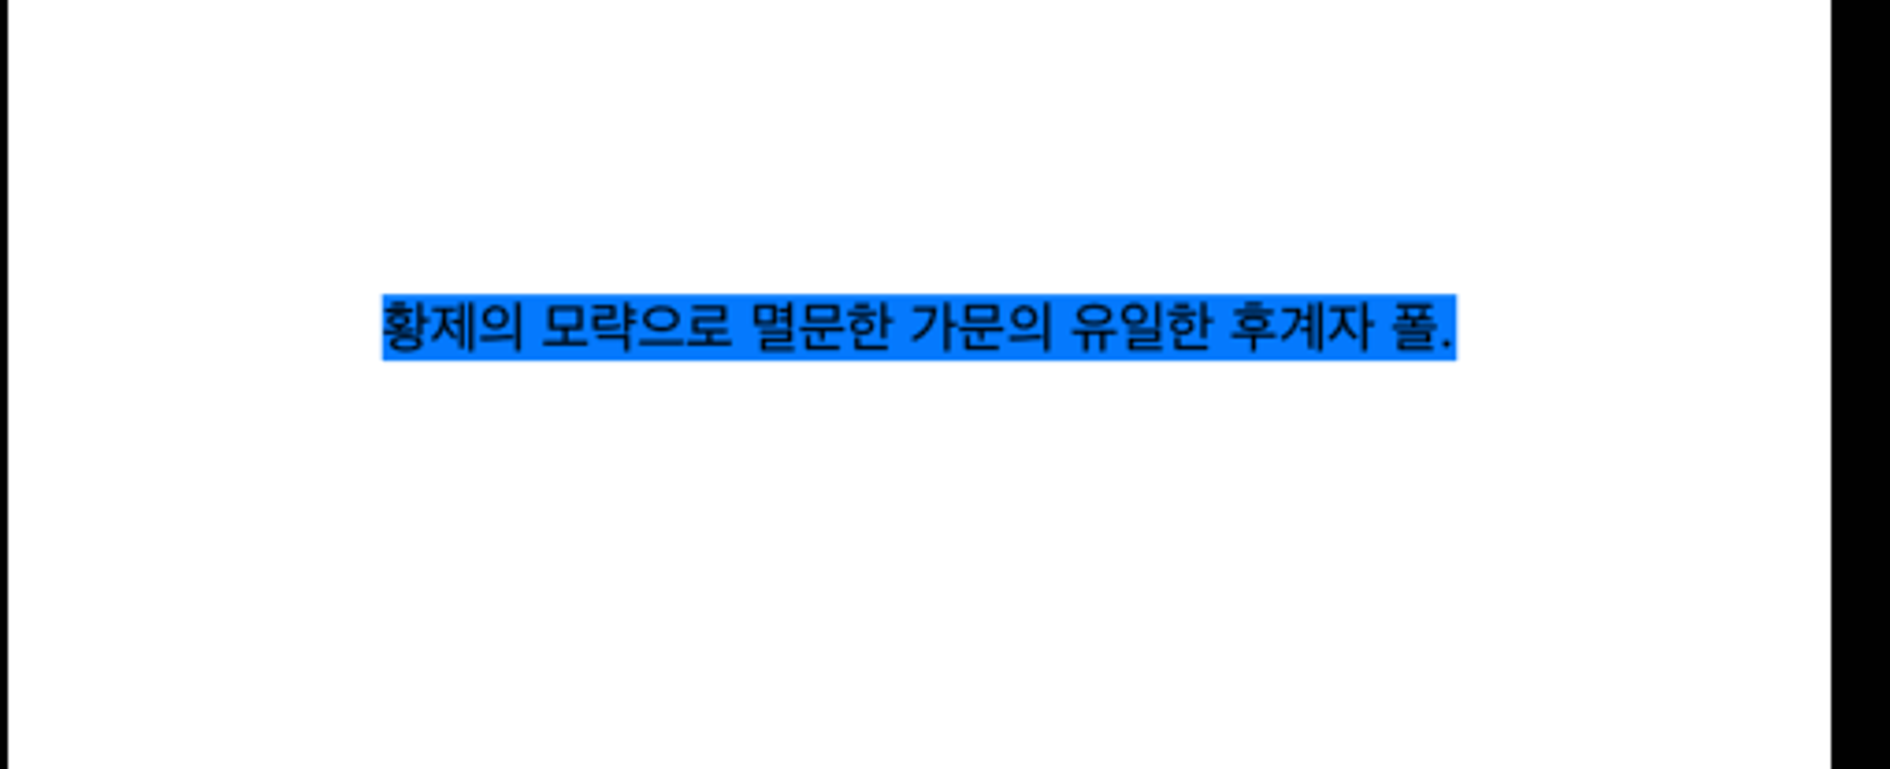
텍스트 길이에 따라 더보기 버튼을 만들어서 토글이 되도록 만들어보자.
방법을 여러 번 검색해보았고, Geometry를 이용하는 방법을 찾아서 해보는데 원하는대로 되지 않았따..
lineLimit이 2일 때 1줄 텍스트에는 더보기 버튼이 보이면 안되는데 이 부분이 계속해서 해결이 안되었다.
계속 뒤적뒤적하다가 발견한 스택오버플로우,,(갓)
https://stackoverflow.com/questions/59485532/swiftui-how-know-number-of-lines-in-text
SwiftUI - how know number of lines in Text?
I have a dynamic text, it can be small or large I what by default show only 3 lines and only if needed add "more" button. When the user tap on this button ("More") - I will show all test. I ask, h...
stackoverflow.com
다른 답변을 보다보니 ios16.0 버전에서 나온 ViewThatFits를 이용하여 구현할 수 있다길래 시도해봤다.
다른 코드들 보다 훨씬 간결해보여서 눈길이 갔다^_^,,
일단은 ViewThatFits에 대해 알아보자!
❓ViewThatFits

ViewThatFits 는 iOS 16.0이상부터 사용 가능하다.
ViewThatFits를 채택한 뷰는 부모 뷰가 크기를 정하는 것이 아니라 자신의 크기에 맞게 뷰의 크기를 조절할 수 있다.
https://developer.apple.com/documentation/swiftui/viewthatfits
공식문서에 코드와 함께 예시로 설명이 되어있는데
struct UploadProgressView: View {
    var uploadProgress: Double

    var body: some View {
        ViewThatFits(in: .horizontal) {
            HStack {
                Text("\(uploadProgress.formatted(.percent))")
                ProgressView(value: uploadProgress)
                    .frame(width: 100)
            }
            ProgressView(value: uploadProgress)
                .frame(width: 100)
            Text("\(uploadProgress.formatted(.percent))")
        }
    }
}
UploadProgressView의 body가 ViewThatFits로 만들어져있다.
예시 코드는 수평 길이에 따라 텍스트와 ProgressView 모두 보여주거나, PorgressView만 보여주거나 텍스트만 보여주도록 한다.
VStack {
    UploadProgressView(uploadProgress: 0.75)
        .frame(maxWidth: 200)
    UploadProgressView(uploadProgress: 0.75)
        .frame(maxWidth: 100)
    UploadProgressView(uploadProgress: 0.75)
        .frame(maxWidth: 50)
}
뷰 내부에 들어갈 데이터가 모두 들어갈 충분한 공간을 가지고 있다면 첫번째 HStack 내부의 뷰를 보여주고, 그 다음 크기에 맞도록 알맞게 뷰가 그려진다.
이러한 것으로 보아..
ViewThatFits는 뷰 내부에 들어갈 컨텐츠의 크기를 계산하고, 해당 컨텐츠가 모두 수용 가능한 크기의 뷰를 골라 그려주는 방식이다.
💡 더보기 텍스트를 만들어보자
struct TruncatedTextView: View {
    private var text: String = ""
    private var lineLimit: Int = 2

    @State private var isExpended: Bool = false

    var body: some View {
        Text(text)
            .font(.caption)
            .lineLimit(expended ? nil : lineLimit)
            .overlay(alignment: .bottomTrailing) {
                if !expended {
                    Text(" ..더보기")
                        .font(.caption)
                        .foregroundStyle(.blue)
                        .underline()
                        .onTapGesture {
                            self.expended.toggle()
                        }
                        .background {
                            RoundedRectangle(cornerRadius: 8)
                                .fill(
                                    LinearGradient(gradient: Gradient(colors: [Color(white: 1, opacity: 0.8), .white]), startPoint: .leading, endPoint: .trailing)
                                )
                        }
                }


          }
    }
}
lineLimit으로 2줄 제한을 주었다. 2줄 넘어가면 더보기 버튼을 생성하여 확장 가능하도록 구현예정
더보기 버튼은 overlay를 이용하여 텍스트를 올렸고, onTapGesture를 추가하여 expended 토글이 되도록 구현하였다.
🚨 문제점!

2줄이하의 텍스트가 들어올 경우 더보기버튼이 사라져야 한다.
텍스트가 2줄 내로 모두 입력이 가능한 경우면 더보기 버튼을 사용할 필요가 없고, 텍스트가 잘리게 된다면 더보기 버튼을 추가하여 확장이 가능하도록 구현하여야 한다.
✅ 해결!
ViewThatFits를 활용하여 텍스트가 2줄이 넘어가는지 판단하도록 구현하였다.
private func calculateTruncation() -> some View {
    ViewThatFits(in: .vertical) {
        Text(text)
            .font(.caption)
                .hidden()
            .onAppear {
                guard isTruncated == nil else { return }
                isTruncated = false
            }
        Color.clear
                .hidden()
            .onAppear {
                guard isTruncated == nil else { return }
                isTruncated = true
            }
    }
}
수직 길이에 따라 조절할 것이기 때문에 ViewThatFits의 Axis를 vertical로 설정한다.
길이에 맞게 다 들어간다면 isTruncated 값을 false, 잘려지게 된다면 true로 값을 변경한다.
이 메서드가 리턴하는 뷰는 실제로 보여주기 위한 뷰가 아님!
텍스트가 잘리는지 여부를 판단하기 위한 것이기 때문에 .hidden() 설정을 한다.
struct TruncatedTextView: View {
    var body: some View {
        Text(text)
            .font(.caption)
            .lineLimit(isExpended ? nil : lineLimit)
            .background(calculateTruncation()) // 체크 지점!
            .overlay(alignment: .bottomTrailing) {
                if isTruncated == true && !isExpended {
                    Text(" ..더보기")
                        .font(.caption)
                        .foregroundStyle(.blue)
                        .underline()
                        .onTapGesture {
                            self.isExpended.toggle()
                        }
                        .background {
                            RoundedRectangle(cornerRadius: 8)
                                .fill(
                                    LinearGradient(gradient: Gradient(colors: [Color(white: 1, opacity: 0.8), .white]), startPoint: .leading, endPoint: .trailing)
                                )
                        }
                }


            }
    }
}
위의 뷰를 .background()에서 호출하게 되면 컨텐츠를 텍스트에 삽입할 때 텍스트가 잘리는지 여부를 판단할 수 있고, isTruncated 값을 통해 더보기 버튼을 붙여줄 수 있다.


💻 전체코드
import SwiftUI

struct TruncatedTextView: View {
    private var text: String = ""
    private var lineLimit: Int = 1

    @State private var isTruncated: Bool? = nil
    @State private var isExpended: Bool = false

    init(text: String, lineLimit: Int) {
        self.text = text
        self.lineLimit = lineLimit
    }

    private func calculateTruncation() -> some View {
        ViewThatFits(in: .vertical) {
            Text(text)
                .font(.caption)
                .hidden()
                .onAppear {
                    guard isTruncated == nil else { return }
                    isTruncated = false
                }

            Color.clear
                .hidden()
                .onAppear {
                    guard isTruncated == nil else { return }
                    isTruncated = true
                }
        }
    }

    var body: some View {
        Text(text)
            .font(.caption)
            .lineLimit(isExpended ? nil : lineLimit)
            .background(calculateTruncation())
            .overlay(alignment: .bottomTrailing) {
                if isTruncated == true && !isExpended {
                    Text(" ..더보기")
                        .font(.caption)
                        .foregroundStyle(.blue)
                        .underline()
                        .onTapGesture {
                            self.isExpended.toggle()
                        }
                        .background {
                            RoundedRectangle(cornerRadius: 8)
                                .fill(
                                    LinearGradient(gradient: Gradient(colors: [Color(white: 1, opacity: 0.8), .white]), startPoint: .leading, endPoint: .trailing)
                                )
                        }
                }


            }
    }
}
'iOS > UIKit&SwiftUI' 카테고리의 다른 글
| [iOS/UIKit] 토글되는 컬렉션뷰 만들기 - NSDiffableDataSourceSectionSnapshot (0) | 2024.02.22 |
|---|---|
| [iOS/Kingfisher] 네트워크 통신으로 이미지 받아오기 (2) | 2023.11.26 |
| View의 Drawing Cycle (0) | 2023.11.11 |
| [iOS/Swift] MapKit Annotation displayPriority 지정하기 (1) | 2023.10.20 |
| MapKit CustomAnnotation (2) | 2023.10.10 |